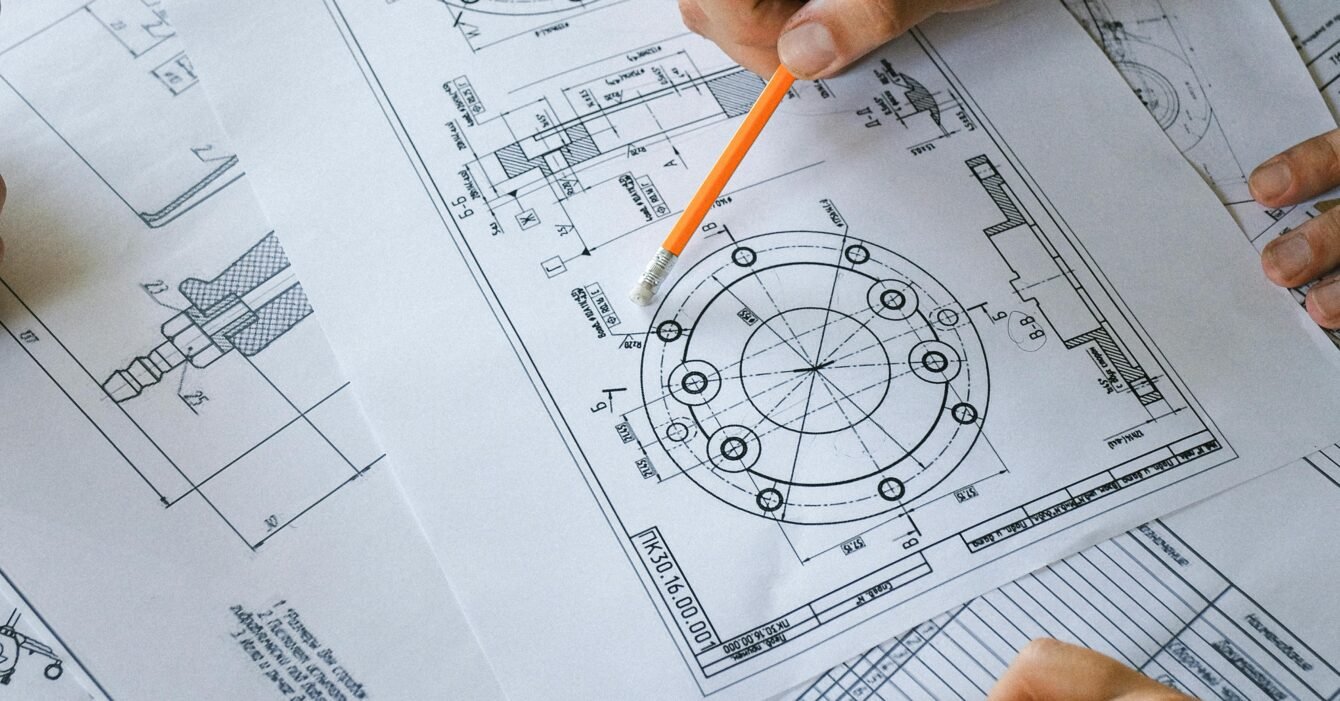
In precision manufacturing, CNC machine tool tolerance is a core indicator of part quality, directly affecting assembly performance, functional reliability, and product service life. Whether for aerospace components or medical devices, strict tolerance control is key to competitiveness. This article analyses CNC tolerances from definitions, influencing factors, and control methods, and shares how to optimise technology to improve overall part accuracy.
I. CNC Tolerances: From Basic Concepts to Industry Standards
1. What is CNC Tolerance?
Definition: CNC tolerance refers to the allowable deviation between the actual size of a machined part and its design dimensions.
Classification:
- Dimensional Tolerances: Examples include hole diameter or shaft diameter with ±0.01mm tolerance.
- Form and Position Tolerances: Includes flatness, roundness, perpendicularity, etc. (e.g., flatness ≤ 0.005mm).
- Surface Roughness: Ra value (e.g., Ra 0.8μm) affects friction and sealing performance.
2. Industry Tolerance Standards
- ISO 2768: Medium accuracy for general mechanical parts (m-level tolerances).
- ASME Y14.5: High-precision standards for aerospace and automotive industries.
- Enterprise Internal Standards: Some precision manufacturers require tolerances of ±0.005mm or less.
II. Five Key Factors Affecting CNC Tolerance and Part Precision
1. Machine Tool Rigidity and Thermal Stability
- Problem: Vibration or temperature rise (e.g., spindle elongation ~12μm per 1℃ increase) leads to errors.
- Solution:
- Use mineral casting beds to reduce thermal deformation.
- Install constant temperature cooling systems to control ambient temperature within ±1℃.
2. Tool Wear and Cutting Parameters
- Data: Machining aluminium alloy with carbide tools may cause ~0.02mm wear per 100 pieces.
- Optimisation:
- Dynamically adjust feed rate and depth of cut (e.g., F=2000mm/min, ap=0.2mm).
- Extend tool life ~30% using coated tools (TiAlN).
3. Clamp Positioning Error
- Error Sources:
- Fixture repeatability ±0.003mm.
- Workpiece deformation from clamping (thin-walled parts up to 0.1mm).
- Improvement:
- Use hydraulic/vacuum clamps to reduce contact stress.
- Increase auxiliary support points to distribute clamping force.
4. CNC System and Feedback Accuracy
- Core Indicators:
- Raster scale resolution (~1μm).
- Servo motor repeat positioning accuracy ±0.002mm.
- Upgrade:
- 5-axis linkage CNC systems (e.g., Heidenhain TNC640).
- Real-time compensation algorithms for trajectory correction.
5. Material Properties and Residual Stress
- Case: Aluminium 6061-T6 may rebound 0.05–0.1mm after machining.
- Countermeasures:
- Pre-ageing treatment to relieve internal stress.
- Staged roughing and finishing (leave ~0.1mm margin).
III. Four Core Technologies to Enhance Part Accuracy
1. Online Detection and Compensation
- Flow: Measure during machining → feedback → real-time tool path correction.
- Effect: Reduce tolerance fluctuations by ~50%, ensuring mass production consistency.
2. Intelligent Tool Life Management
- Solution: RFID chips track tool wear. Predictive replacement alerts when 10% of tool life remains.
3. Multi-Process Co-Optimisation
- Scenario: Mill-turn machining reduces clamping steps and improves accuracy by ~20%.
- 5-axis machining forms complex surfaces in a single setup, avoiding cumulative errors.
4. Digital Process Simulation
- Tools: VERICUT simulates machining to predict interference and overcutting.
- Finite Element Analysis (FEA) predicts workpiece deformation.
IV. Choosing a High-Precision CNC Machining Provider
1. Core Assessment Indicators
- Machine Configuration: 5-axis linkage, linear motor drive, nano-scale grating.
- Quality Control: ISO 9001 certification, 3D inspection coverage.
- Case Data: Historical tolerance achievement rate ≥99.5%.
2. Industry Application Examples
- Medical Devices: Joint implant surface roughness Ra ≤ 0.4μm.
- Optical Devices: Flatness requirement ≤ 0.001mm.
V. prysen: Global Partner for Precision Parts Manufacturing
prysen focuses on high-precision CNC machining. Through technological innovation and strict management, we provide global customers with precision parts achieving tolerance control within ±0.005mm.
We are committed to helping you push the limits of precision and deliver reliable, high-quality parts for the most demanding industries.

